
Yes, rock chips even happen to the windshield repair guy; especially here in Colorado Springs. I figured this would make an excellent article for the new Windshield Repair Blog and provide a way to show you how we repair windshield damage step-by-step.
So here is the culprit:


The first step to repair the damaged area is to drill the chip area to remove loose bits of glass and make a clear channel to later inject resin into the damaged area.

Next we use compressed gas to remove glass from the chip. Note that we do not use compressed air, as it can contain moisture that would ruin our windshield repair. We then clean the damaged area with a special compound that enhances the bonding properties of the resin and removes water repellent chemicals that are sometimes used in car washes, windshield wiper fluids and other applications.


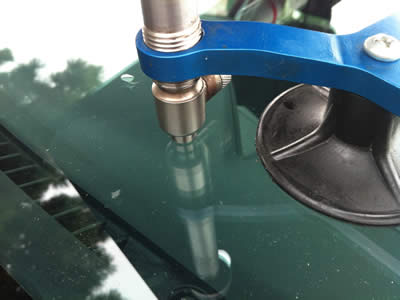
After a thorough cleaning, we inject a special resin into the damaged area using a series of vacuum and pressure cycles with the windshield chip repair tool.


